A cool little lunch bag, perfect for taking a couple of tupperware cases to work, or for a picnic. I adapted the pattern given in this tutorial..you can try it out yourself!
This necklace and bracelet set is sooo easy and fun to make. All you need is rope, a piece of matching felt, jewellery clasps and glue or a needle and thread. The instructions for the necklace are described in detail here. You can do the bracelet with some easy modifications.
This scarf took me ages to knit, partly because the wool is quite thin, and partly because I was starting and stopping all the time. Also, I wanted it to be quite long; it goes around the neck three times. The knitting pattern is not too hard and the pattern is lovely. I used size 10mm needles as I wanted the knit to be loose.
Instructions:
Cast on 45 stitches.
Row 1: Knit.
Row 2: K1, [sl 1, k1, yo, psso 2 sts] around.
Row 3: Knit
Row 4: [Sl 1, k1, yo, psso 2 sts] around to last stitch k1.
Repeat all rows until scarf has reached the desired length. Bind off.
This is a warm chunky beanie which you can knit up in about 2 or 3 hours. The pattern is similar to the Chunky Mistake Rib Scarf. I used 2 skeins of 50g (about 40m) each. The Beanie is knit in the round, so I used 9mm and 10mm circular needles (40cm length). You will also need 10mm double point needles.
Instructions:
Cast on 42 stitches with size 9mm needles (40cm circular). Join to work in the round and place marker. Rows 1-5: k1, p1 Row 6: switch to size 10mm needles. K2tog, p1 below, repeat around. (28 st left) NOTE: On this row, when you p1 below, you will be purling into a knit stitch every other purl due to the stitch groupings of 3. Do not be alarmed. Purl into the knit stitch and continue normally. Row 7: k1 below (into the k2tog stitch), p1 as normal into the p1 below stitch from previous row. Repeat around. NOTE: This row is going to look somewhat messy. It will be about four rows of ribbing before the hat pattern starts to look ‘right’. Row 8: k1 as normal (into k1 below stitch), p1 below. Repeat around. Row 9: k1 below, p1 as normal (into p1 below stitch). Repeat around. Rows 10 and on: repeat rows 8 and 9 until hat measures about 17cm in length. This will be about 12 rows of fisherman rib. Decrease sequence: transfer to double point needles. Row 1-5: k1, p1 in reqular rib around. Keep these rows loose as otherwise they will bunch up from the fisherman rib. Row 2-3: ssk, p2tog. Repeat around. You start with a ssk as the first stitch in this row (on the left needle) will be a knit). Pass the wool through the remaining stitches and pull tight. Fasten off. NOTE: The decrease sequence will look wrong from the side you are knitting, however the rib pattern will be continued on the underside of the beanie. This is not a problem as the fisherman's rib pattern is reversible.
This is a very cosy chunky scarf which you can knit up in about 3 or 4 hours. The pattern is really easy to knit, and to spot mistakes. I used 4 skeins of 50g (about 40m) each. The needles I used were 12mm. I wanted a snood, so after I finished the scarf I joined the ends together. Instructions:
CO 27 (23, 19) sts, or any multiple of 4 sts + 3.
Row 1: (K2, P2) across to last st., end P1.
Repeat Row 1 to desired scarf length. BO in pattern.
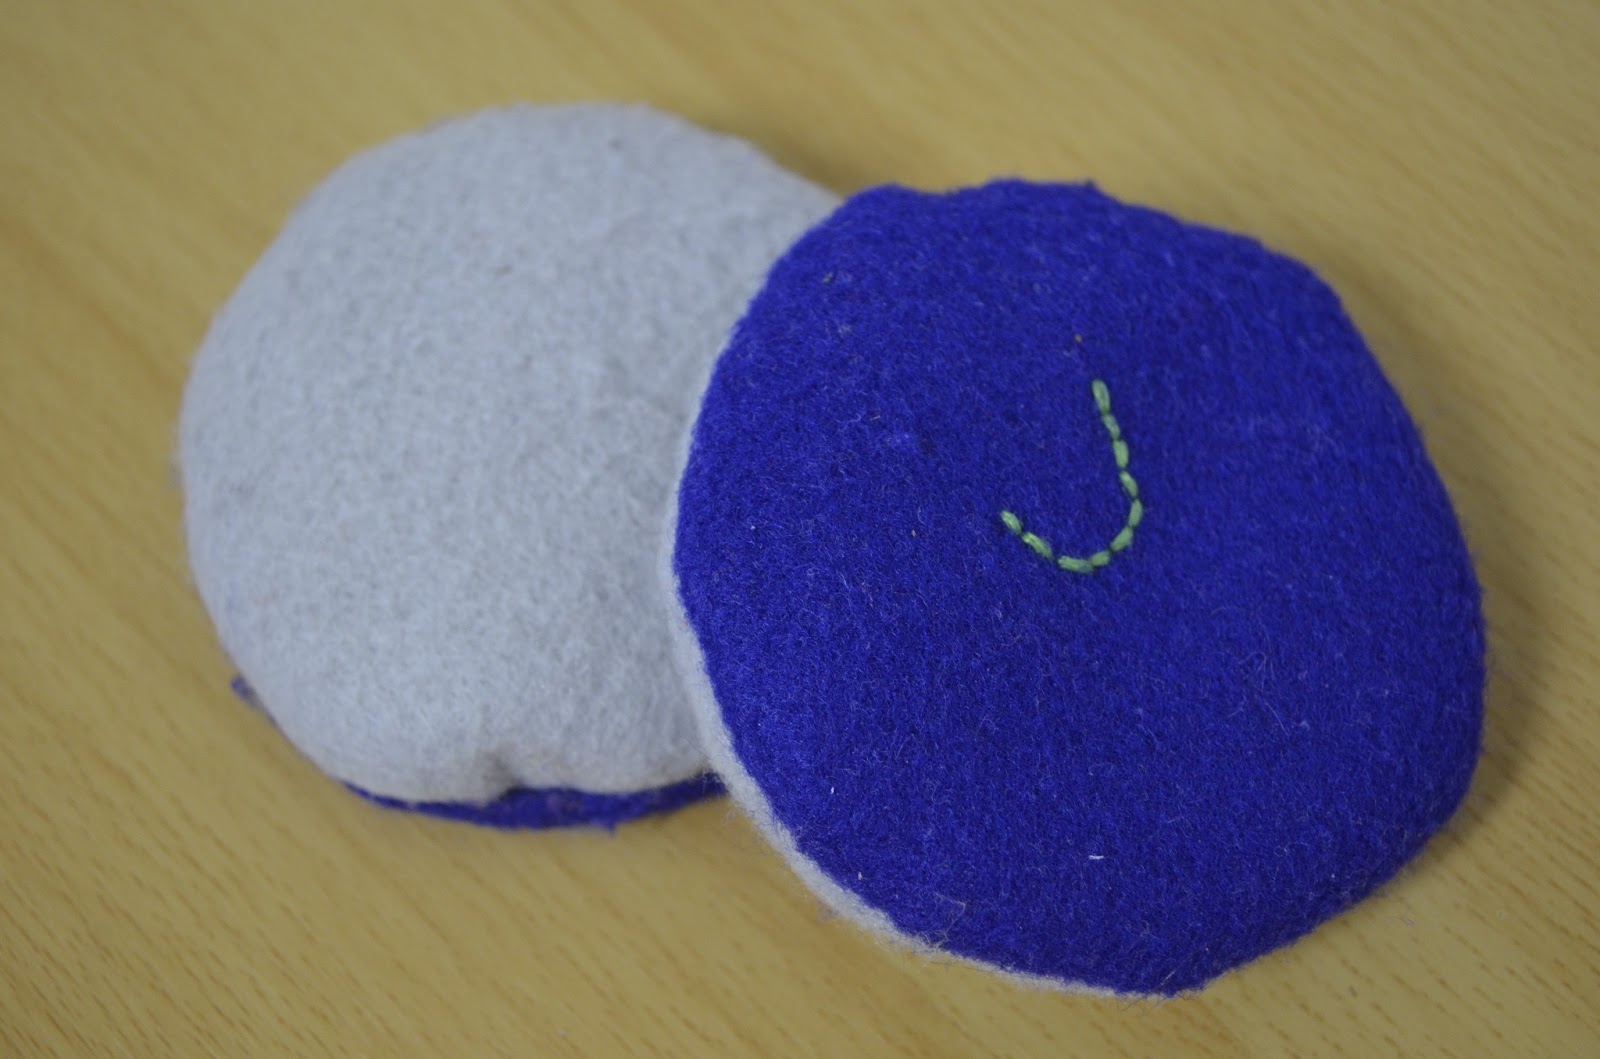
These are cute little pouches filled with rice. You can use any microwave-proof material, such as cotton or felt. Instead of rice you could use lentils. Pop into the microwave for a minute or so, and hey-presto! small little hand warmers to hold in your pockets! I cut two circles, and sewed them inside out, apart from a little opening. Then I turned them the proper way out, and I filled them with rice. I had a couple of lavender buds handy and I threw them in as well. They make a lovely comforting smell when warmed up :)
Trying to pass the time I made this bookmark. It's made with different coloured pieces of felt cut into a right-angled triangle, then sewn together using a blanket stitch. The words are embroidered using a simple backstitch. I then added a small tassel to the corner.
After the Arm Knit Scarf and the Moss Stitch Headband I decided to do a pair of simple fingerless mittens to match. I used size 10mm needles again, and nearly a whole skein of 50g. I know they don't exactly look like store bought, but they look quite cute :)
Instructions:
Cast on 14 stitches. For the cuff:
Uneven rows, starting Row 1: K2, P2 across
Even rows, starting Row 2: P2, K2 across
Repeat to have 6 rows in all.
Continue with moss stitch pattern:
Row 1: add stitch, K1, P1 across
Row 2: add stitch, K1, P1 across (you should have 16 stitches by now)
Some time ago I knitted the Arm Knit Scarf. I had about half a skein left (25g) so I decided to do a headband to match the scarf. It was quite quick to do; taking about two hours or so, and the wool was exactly the right length! I used size 10mm needles for the chunky wool.
Instructions:
Cast on 8 stitches. Knit moss stitch pattern:
Uneven rows, starting Row 1: K1, P1 across
Even rows, starting Row 2: P1, K1 across
Continue in moss stitch until band fits quite tightly around your head.
Bind off then either stitch both ends together or stitch on two buttons on one end, then overlap with the other end and pass the buttons through the knitting.
It has been quite a while since I last knitted something, but when I saw this new take on knitting I couldn't resist. Instead of using knitting needles you use your arms. Yep that's right! The perfect method to achieve a large chunky knit in so little time!
12 stitches, goes twice around neck
10 stitches, goes three times around neck
For both scarves I got two 50g skeins of wool, and I completed them in about 45 minutes. You can find the knitting instructions in the following video. I can't wait to go buy more wool for more scarves! Happy knitting :)